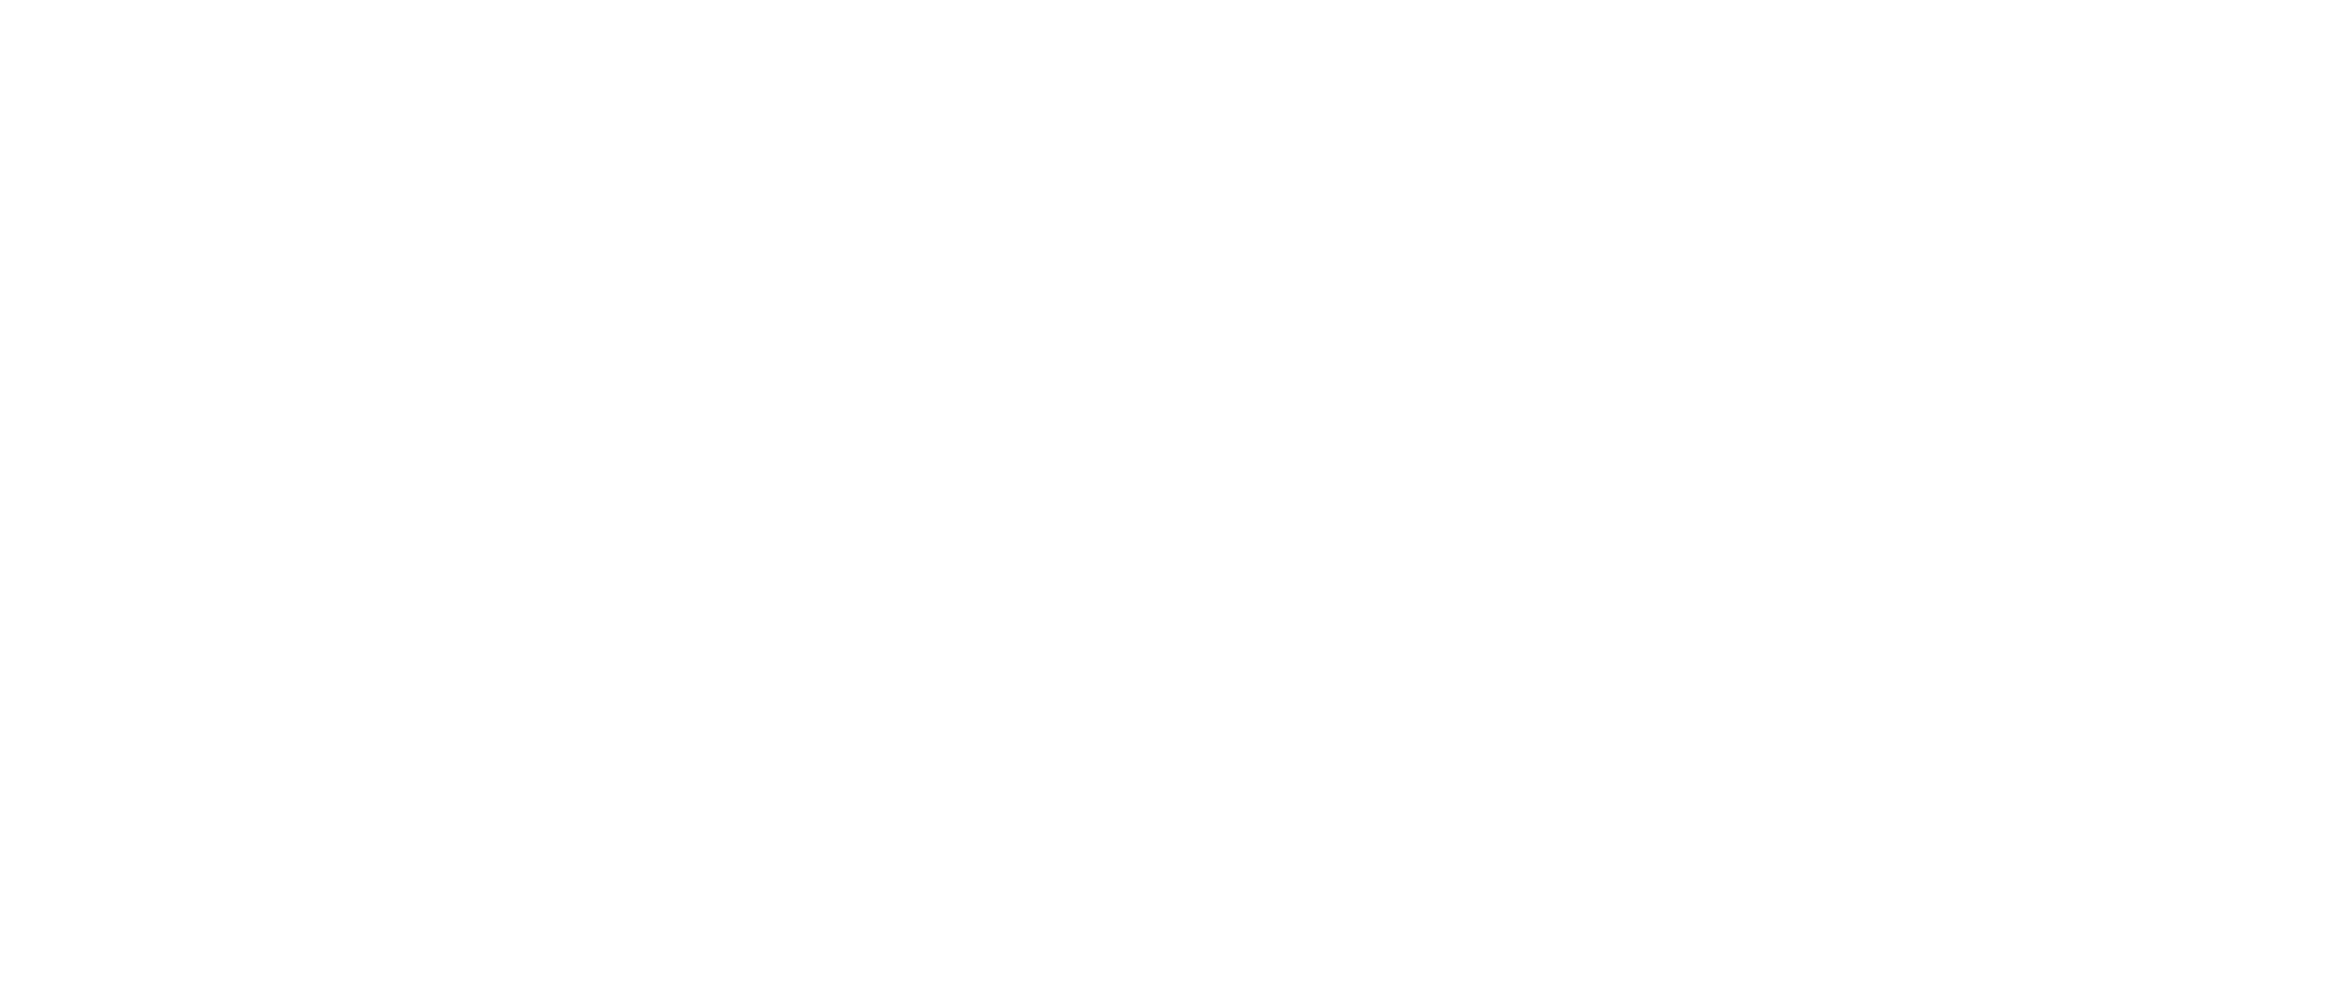
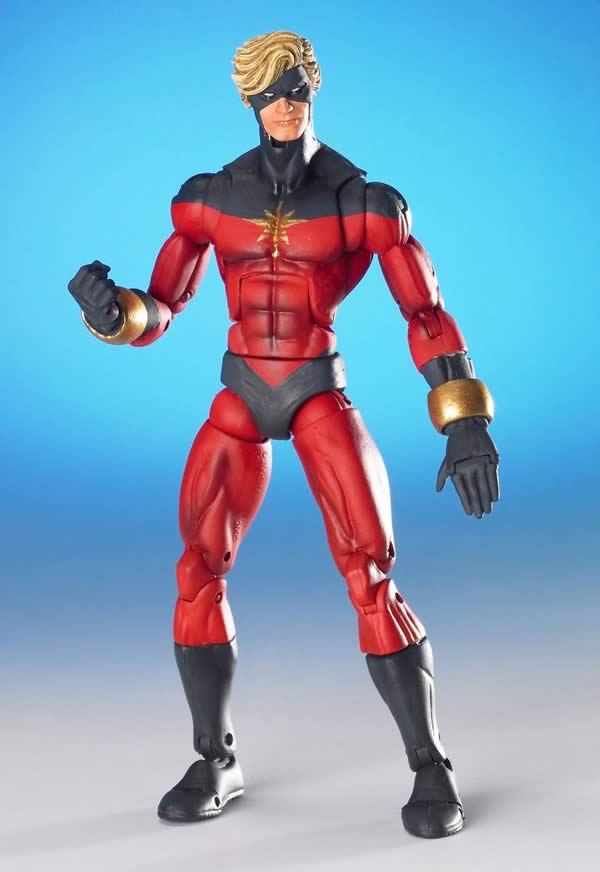
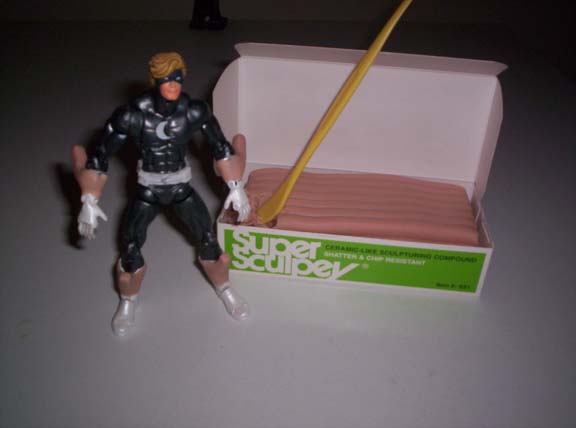
This page will chronicle the making of a custom Banana Man Action Figure. It all started when I had purchased a few Marvel Legends variants figures that I was going to sell for profit Don’t worry, no variants were harmed in this production. We started with a Captain Marvel and Moon Knight from the Marvel Legends MODOK series.
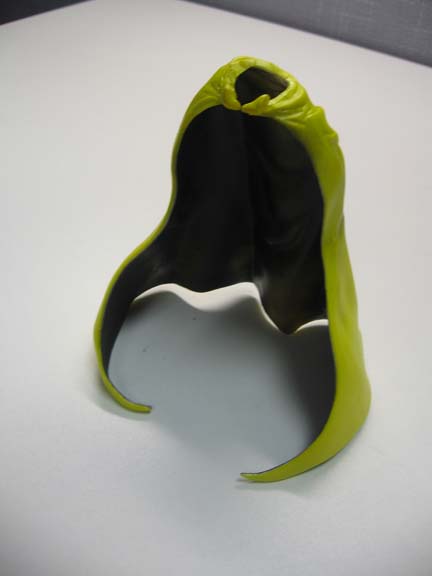
Step 1: The Cape Tools needed: X-Acto knife, acrylic paint, sponge brush, Super Sculpey, craft glue
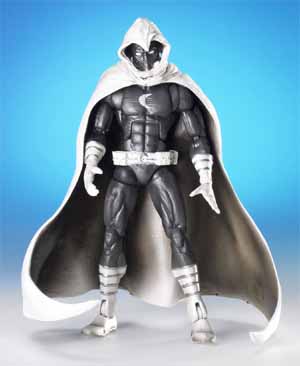
I used an X-Acto Knife to cut off the hood, and then I used a sponge brush
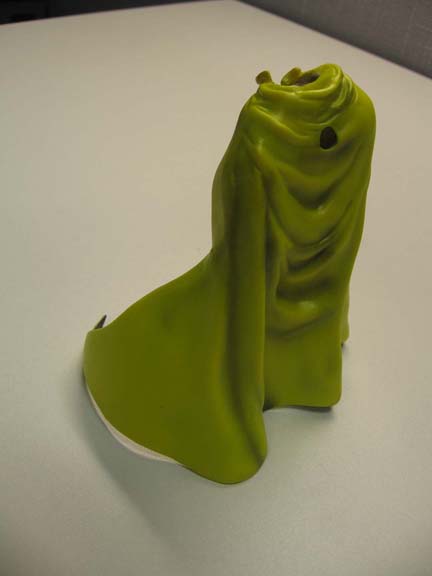
A little bit of sculpey to make the cape clips, 15 minutes of baking, yellow
Step 2: The Figure Tools needed: Sauce pan, stove, Super Sculpey, sculpting tools I boiled the two figures to soften up the plastic, and I popped the heads off.
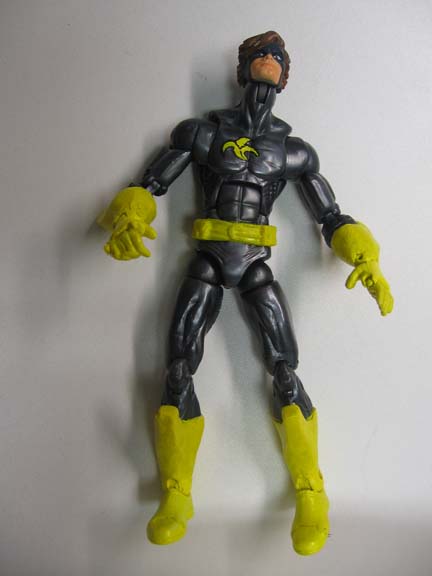
Step 3: Bake Tools needed: Stove or toaster oven I used a toaster oven to bake the figure at 275 degrees for 15 minutes. Step 4: Paint Tools needed: Acrylic paint, brushes I used acrylic paint and painted the sculpey white as a primer. I used a very small brush to get some details on the eyes. A large brown dot, a smaller black dot, and then a really small white dot. I painted the hair brown, and then went back in with some white paint to add some highlights. Finally, I painted a fine black line around the banana logo on the chest.
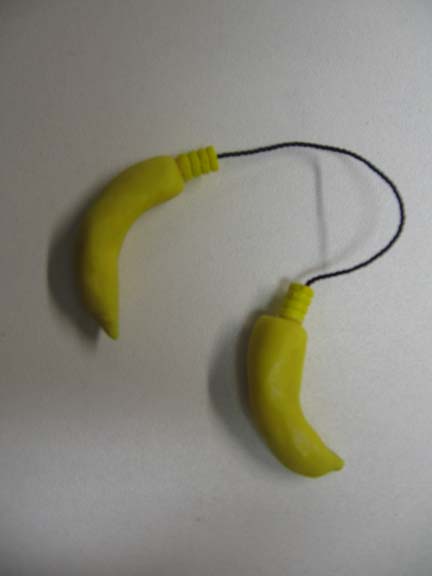
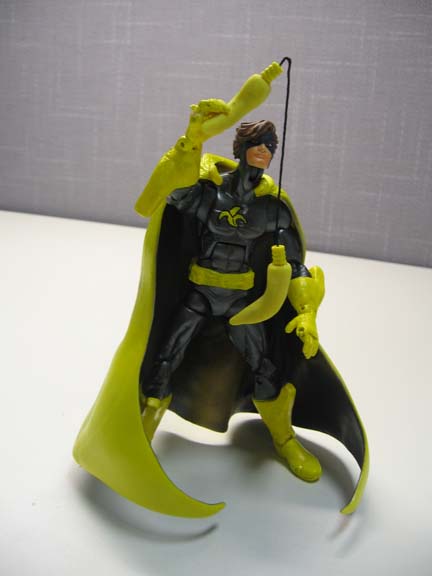
Step 5: Accessories Tools needed: Acrylic paint, brushes, sculpey iii, oven, glue, scissors Moon Knight had some nun-chucks, so I decided to make those into nan-chucks
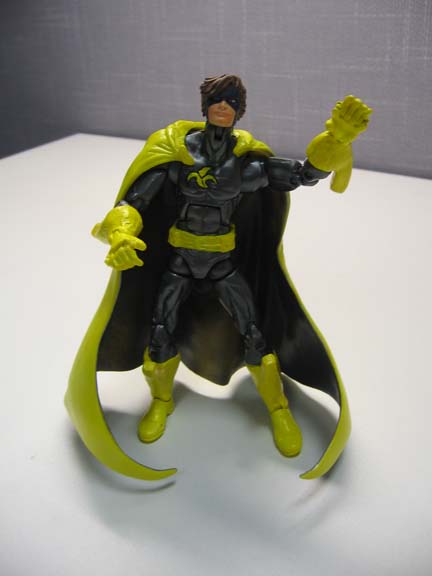
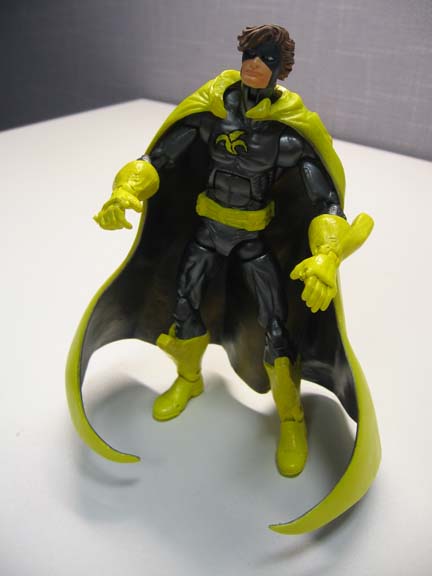
THE FINISHED FIGURE!
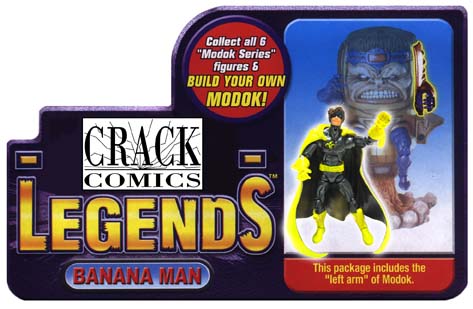
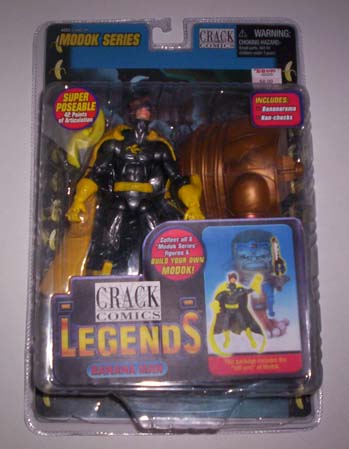
  Step 6: Packaging Tools needed: Scanner, color printer, paper, x-axto knife, spray mount I careful cut the original Moon Knight out of the package
 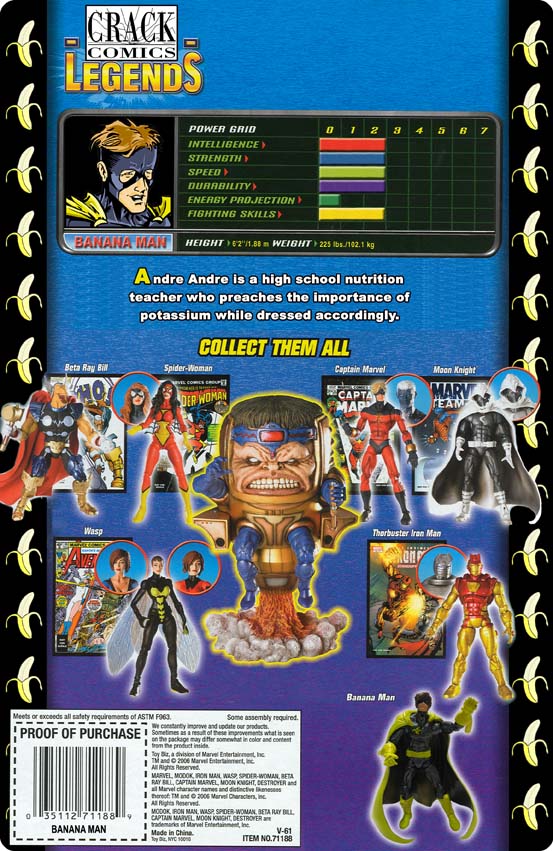 I also decided to keep the MODOK piece in there since I don’t know what else I could have put there.
|